Showing posts with label Recipe. Show all posts

Tuesday, August 3, 2010

Low-fat Ranch dressing recipe

Here is a Tastey Tuesday Recipe

I really like to make my own dressing.
I like knowing what is in the food I eat...especially when I KNOW I can make it healthier then any company claims to make it.

So, I am ALWAYS on the lookout for ranch and honey mustard recipes that are "better-for-you" varieties.
We eat salad almost every single night...soooo these are a must!

This is the best ranch I have made. I have another close second....but this one is really good.
To me, who makes my own most all of the time...it is SO hard to tell it is low-fat.

Doesn't it just look so YUM?????
didn't catch it?
Oh.
OK...
Look again!

**********************************************
Anyway....here is the recipe...
(another fun thing we love to do on a night that we are having a BBQ type dinner, is to add 2 TBS BBQ sauce to the mix. YUM, again!)
1 cup buttermilk
1/2 cup low-fat mayonaise
1/2 cup low-fat sour cream

1 tsp garlic powder
1 tsp onion powder
2 tsp chopped fresh chives
2 tsp chopped fresh dill
2 tsp chopped fresh parsley
1/2 tsp salt
1/4 tsp pepper

1 TBS vinegar or lemon juice
(I also added 1 clove fresh garlic...this adds a kick but is oh so yummy!)

Whisk together the buttermilk, mayo and sour cream. Stir in the rest of the ingredients very well, until completely incorporated.
Refrigerate at least 30 minutes before serving!
*(adapted from allrecipes.com)*

Raelyn

Wednesday, June 30, 2010

THE BEST GINORMOUS Cookie

One of the things I did for several of our teachers for part of their end of the year gifts was to make these GIANT cookies.
They are literally 12+ inches around!
And so very YUMMY!

I have tried to make cake size cookies before..and they NEVER work!
Ever.
They are usually too cooked on the edges, and undercooked in the middle.
This however is the most perfect cookie cake you could ever want!
It is soft, not too sugary, and you could customize it in any way!

(That is my cell phone for a size comparison.)
I bought 12" cardboard cake rounds from Michaels.
Wrapped them in tinfoil and the cookies fit just perfectly!
Then I wrapped the whole thing in saran wrap... and prettied it up with a bow!

I added a book of quotes on a couple of them; Tyler's current teacher and last years teacher;...and they all got a card as well.

They were loved by everyone.
By the way, it would be really cute to bring this to a party or as a host gift, or to a staff luncheon type thing, with a pizza cutter attached! SOOOOOOO CUTE!

******************************************
This is the recipe that I found HERE

Recipe makes one Giant Cookie
1/2 cup sugar
1/2 cup brown sugar
1/2 cup butter (melted and then cooled)
1 egg
1 tsp vanilla
1 1/2 cup flour
1/2 tsp baking soda
1/4 tsp salt
*************************
1/2 cup chocolate chips
1/2 butterscotch chips (optional)
You could also add nuts, or m&ms, or anything else you wanted
*************************
Preheat oven to 350 degrees.
In a medium bowl, cream together the sugars and the butter. Add the egg and vanilla and cream again. Add the dry ingredients and mix well. Fold in the chocolate chips.
Line a large baking pan with foil and press the cookie into about a 9 inch circle...it will spread to 12 inches as it bakes.
Bake for 13-16 until the cookie is lightly golden brown. The trick is to NOT overbake.
Let the cookie cool completely on the baking pan so it can have time to stabilize and set up.
Once cool, gently use the foil to lift off of the pan.
Raelyn

Tuesday, June 1, 2010

Chicken Corn Chowder

Okay, so I can NOT even BEGIN to explain our love for this soup.
I found the original recipe HERE (one of my FAVORITE cooking blogs),
and after making it many, many, MANY times, I have tweaked it a little,
and made it exactly what we love.

I could go on and on and on about the creamy deliciousness of this soup.
The beauty that is sitting there starring at me, taunting me, when it is all done.

Truly, my whole family enjoys the soup, but the hubby and I drool over it, and fight over who gets the leftovers the next day!

It IS a chowder. It is hearty and thick and filling.
It has many bright colored veggies, and is easily tweakable if your tastes desire!

Chicken Corn Chowder

4 Stalks of celery; CHOPPED
1 red bell pepper; CHOPPED
1 medium onion; CHOPPED
**if desired:
(1 TBS olive oil to saute veggies in)
(1-2 slices JARRED jalenpenos--THESE DO ADD HEAT...1 will add a bit of a bite, and 2 will add quite a bite. I add 1...then my husband adds more to his own bowl because he likes it spicier.)
-----------------------------
3 cloves garlic
1 box or 2+ cans of chicken broth (about 32oz)
3 TBS flour or 1-1/2 TBS cornstarch
2 cups frozen corn kernels (more or less according to your taste)
2 large chicken breasts; COOKED and SHREDDED
-----------------------------
1/2 tsp salt
1/4-1/2 tsp pepper
1-1/2 tsp smoked paprika
-----------------------------
1 cup milk
4oz cream cheese; SOFTENED
------------------------------
**if desired:
1 cup Shredded cheddar cheese

On medium, in a large pan, saute the celery, red pepper, onion and jalepeno until tender...about 5 minutes. Add garlic, and stir to combine. Cook for another minute or so. In that time, mix the chicken broth with the flour or cornstarch (depending on your personal choice) and then add to the veggies. Bring to a low boil...

At that time add the corn and the chicken. Bring to a low boil.

Turn down the heat to low, add salt, pepper and paprika, and let simmer.

Stir together the milk and the softened cream cheese. (These two don't like to meld, and there are cream cheese lumps in the milk...but not to worry as the cream cheese WILL melt in the soup anyway. You can heat the milk and cheese in micro to help if you want...but it isn't necessary.)
Stir the cream cheese/milk mixture into the soup.

Let simmer on low until read to eat.

At this point you can either add the shredded cheese OR in our family, we put a little handful at the bottom of the bowl and put soup on top.


It may sound intimidating...but it really isn't. I don't even look at the recipe anymore.
TRUST ME...it is sooooooo worth it.

The chopping of the veggies is the hardest, or most time consuming part.

Eat it with breadsticks, or french bread and a nice fresh salad.
YUMMMMMMMMM!
No, seriously,
YUM!

I HAVE LINKED UP WITH....
Bluecricket Design
Me And My Bucket
Someday crafts
Sew Much Ado
We are That Family
My Backyard Eden
Life in the Pitts
The Thrifty Home
Its So Very Cheri
House of Hepworths
Somewhat Simple
Just a Girl

Raelyn

Tuesday, May 18, 2010

Soccer cupcakes...

It's the end of our indoor soccer season around here.
Middle had a great year!
He is really good!

I always make treats on the last game day. I LOVE to bake...and since we aren't allowed to bake anything for the schools anymore, I take advantage of it where I can :)
So on the final game day, we have pizza, hand out the pictures and trophies...and have something yummy! :)
*******
Anyway......
I thought they turned out REALLY cute, so I wanted to pass their design along.

It is just a basic white cupcake mix...
My frosting is a butter based frosting...and yes, I do mean butter. Stay away from margarine. Bad stuff.

*2 cups powdered sugar
*1/2 stick butter
*1 1/2 vanilla or almond flavoring
*2 TBS hot water
{then to make the chocolate...just add 2 TBS of unsweetened cocoa powder to a separated part of the frosting.}

Beat it all together.
When you think you are done...beat some more.
It will get nice and fluffy and airy, if it is done right.

I simply frosted with the white frosting.
Then I put the chocolate in a ziplock bag...cut the corner off, and decorated.

They took a little time, but the kids went crazy when they saw them!

Go ahead, DON'T BE ASHAMED, WIPE THE DROOL!
Raelyn
I HAVED LINKED UP WITH.....


Thursday, May 13, 2010

Oven Roasted Broccoli

Have you tried oven roasting your broccoli???
YUMMMMY!!!

Most people steam broccoli, I do believe...but oven roasting gives it a totally different dimension!
Kind of a nutty flavor, and it is soooooo good!

I just used about a Tablespoon or so of OLIVE OIL
Tossed all of my florets in a bowl with the olive oil.
I added..
Salt, pepper, two fresh cloves of garlic, and some Parmesan cheese.

It is all to taste, so you kind of have to go by your own tastes...
Then I laid it out in a glass cake pan.
Baked it at 350, for about 10-12 minutes.

It was really good...and still a little crisp.
If you don't like it that way, you could just leave it in a little longer.

It was nice, because after prep...you just throw it in the oven and forget it until the timer goes off...rather then being on the stovetop whistling away at you.

Really a nice change of pace if you haven't tried it!
Raelyn

Tuesday, May 4, 2010

How to Make Bread Crumbs

I really don't love to buy store-bought bread crumbs, because of the hydrogenated oils, and preservatives.
In fact, when they go inside something, like meatloaf, I always make my own.
However, to bread something, like chicken, they need to have that crunch, or be dried out, so it is a little more work. So sometimes, I end up at the store buying them...

But if you want to try it out....this is how you make your own...

I started with this...super fresh and soft. It doesn't have to be stale.

And this. (could totally use a food processor too.)
Then I lay them out on a baking sheet as evenly as possible.
If you want Italian, you add some parsley, salt, paprika and Parmesan cheese...

Then, there is THIS new product...it is olive oil spray, with no propellants.
LOVE IT!!!!!

So, I just sprayed this on top evenly.
Finally I put them under the broiler at 300....
WATCH THEM VERY VERY CAREFULLY.
THE minute that you take your eyes off of them, they will burn and your smoke detectors will go off I promise you! :)
It only takes around 5 minutes.

If they are layered too thick, you may need to stir them once.
When they look nice and golden, they are done.
Pull them out and bread just like you would from the box at the store.
***********************************************
These can be stored in the freezer, airtight, for many months as well!

Raelyn

Tuesday, April 27, 2010

Cupcakes and Frosting

I made some wonderful cupcakes this weekend. Simple and delicious!
They were however,
Made SOOOO much more wonderful by the new "frosting" that I found HERE

I found the "frosting" on HowDoesShe, but they used it in a parfait...(which, by the way, would also be DIVINE).
Once I made it though...I thought it would be a fabulously light and wonderful frosting.
If you want a whipped type frosting, that isn't super sweet...YOU HAVE TO TRY THIS!

AND IT WAS!
Here is the recipe. (Easily doubled if more is desired....which it WILL be)
3 oz. softened cream cheese
6-8 oz. flavored yogurt (any kind would be delicious...strawberry, raspberry, blueberry etc)
2/3 cup sugar
2 tsp. lemon juice
2 cups whipped topping (like cool whip) thawed
1/4 tsp. almond extract
Hold aside the whipped topping, and beat everything else together. Beat until smooth. It will be runny, and you won't imagine it will make a fluffy frosting or filling. Add the whipped topping and continue beating until thick and smooth.
You will be amazed at how amazing this comes out to be.
It would also make a FABULOUS fruit dip at a party!
Are you drooling???????
*****************************************************
Here is the cupcake recipe I used, just in case you would like to give it a try...
((This recipe only makes about 10 cupcakes, so if you want more, just double it...))
1/2 cup sugar
1/4 cup unsalted, room temperature butter
1 egg
1 1/4 tsp vanilla (or other flavor if desired)
3/4 cup flour
1 tsp. baking powder
(just under) 1/2 cup milk
Beat the sugar and butter until it is light and fluffy. Add the egg and beat a good long time, until very light and fluffy. Add remaining ingredients and beat. Spoon evenly into cupcake lined muffin tins. Bake at 350 for about 12-14 minutes. Ovens vary, so watch your cupcakes... The tops will become golden, and they will spring when you touch them.


Raelyn

Thursday, April 15, 2010

Big Baked Pretzels!

Right before Easter we tried out the pretzel recipe that I found HERE.
Infarrantly Creative is an amazing blog, by the way, in case you have never been there. She does
A-MAZING furniture re-do's, and room decor, and recipes...and she can work those power tools!
Anyway.....
I saw these pretzels and thought my kiddos would love to help with them!

I know, YUMMY, right?????
Here is the recipe that she used at Infarrantly Creative...
*1 cup+2 TBS water
*3 cups all-purpose flour (I used half all-purpose, and half wheat flour with great results!)
*3 TBS brown sugar (I used dark)
*1 1/2 tsp active dry yeast
******************************
Later.....BOIL(after the pretzels are made and being formed...)
*8 cups water
*1/2 cup baking soda

Super simple!

Little, and Middle helped me put together all of the ingredients in the bread machine. Then we set the cycle to "DOUGH"

I am sure that you could make this WITHOUT a bread machine....I would imagine that you would need to mix it well...and then knead it for a bit, then let it rise for at least an hour covered in a warm room.

When the dough cycle was done, I punched it down and kneaded it into a nice round ball.
I used a dough cutter and cut it in half, and then each half in half...I rolled those GENTLY into nice balls.
I gave each child their own ball of dough, and they went to town.

The older two, were great...
Middle made a balloon, and baseball bat, a rainbow, a soccer ball, a "T" and a pretzel (go figure) :)

Teen even enjoyed herslef...
She made a sunshine, a pretzel, a "K", a "B" and a ball

Little LOVED it, but needed some help...she kept playing and re-forming...like it was playdoh. :)
In the end, she made a heart, a snake, an "M" and a pretzel.

For the record, the dough really doesn't look that appetizing raw.

While the kids are forming, you need to boil the 8 cups of water, and 1/2 cup baking soda together. I forgot to take a picture of this step.
Once boiling, drop in, one by one, the created masterpieces for 10 seconds each!
Drain on paper towels.
Then put them on baking sheets and sprinkle with kosher salt.

Bake at 325 degrees for about 10 minutes...
When they are nice and deliciously carmel brown they are done.

Seriously.....??????? Are you drooling??????

They were really good! With a hint of a background sweetness!
YUMMY!

We will definately be making these again.....
Look how cute if you had guests over or something.....

*****One hint....In MY opinion....these are REALLY good, the first night...and OK the next day. The kids didn't mind, and they kept eating them and eating them, however...

Raelyn

Wednesday, March 31, 2010

Crock Pot Chicken Tortilla Soup

I LOVE.love.LOVE to cook.
In my adult life I have grown into quite a competant home cook {if I do say so myself}...I LOVE to play in the kitchen.
I almost never COPY recipes...I lOVE to change them and make them my own...and most of the time they are off the chart Y-U-M-M-Y! I have also created many of my own...
I do happen to have a wonderful family who love to take on my constant trial and error, and that helps make me a better cook.
ANYWAY.....
Tonights dinner was just YUM...and Oh so easy!
I love me a good crockpot meal...especially on soccer nights! :)
This recipe originally came from an OLD Betty Crocker cookbook...but I altered it...many times...and have adapted it to fit a crockpot.
So here it is...


3 cups cooked chicken (we happen to love it shredded)
4 cups chicken broth
2-3 cloves of garlic
1 can light kidney beans
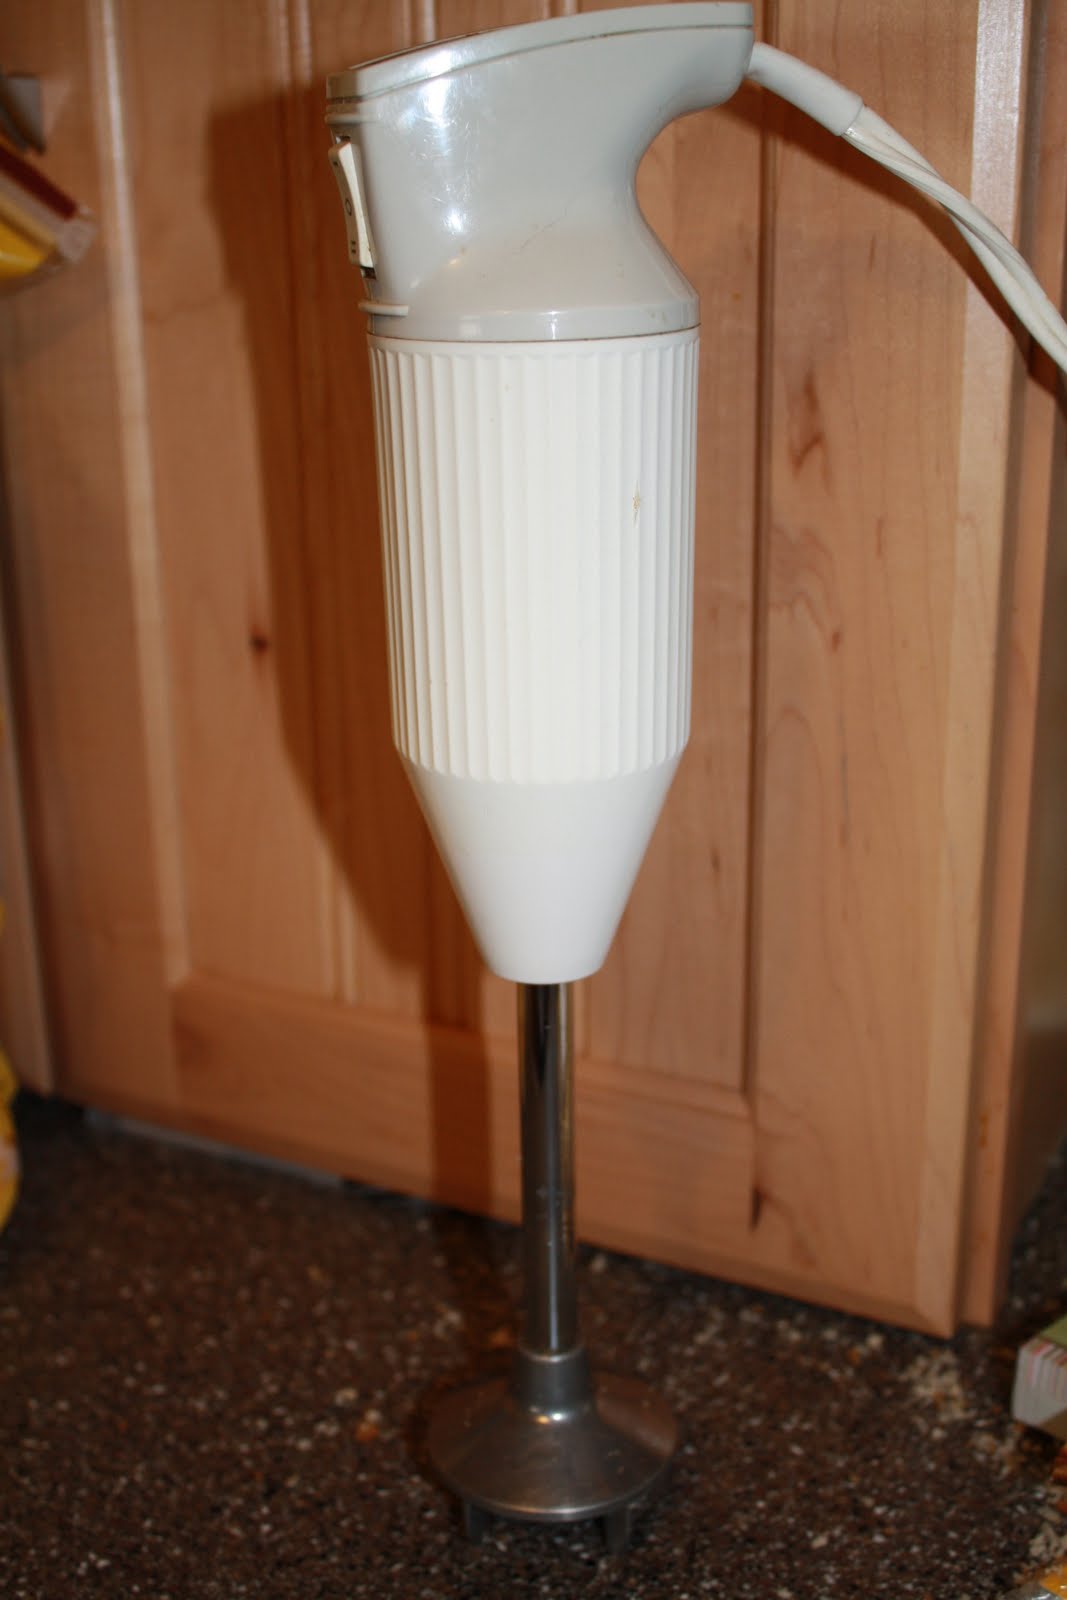
2 cans diced tomatoes, undrained and blended (I use a stick blender, right in the can)
1 cup of your favorite salsa (I would do less if super spicy)
1 1/2 cup frozen corn
1/2-3/4 cup fresh shredded cilantro
1 1/2 TBS ground cumin

Put everything in the crockpot together. Cover and cook on low for 8 hours...if you MUST do high...you can but it really needs at least 3 1/2 hours to come together.

TOPPINGS:
Cheese (any)
Avacado
Cilantro
Tomato
Tortilla Chips
Sour Cream

Ladle into bowl and top with all of your favorites.


*I have also added jarred sliced jalenpeno...very good...BUT remember jarred jalepenos are MUCH spicier then fresh. I only use one, or two slices...two will give it quite a kick...one just gives a hint of spice.
I know many people who love rice in their torilla soup as well, and this would be easy to do...but I would cook it first...don't put it in raw, or it will soak up a lot of the liquid.

It's really great with quesadillas.

Looks good huh?????
YUMMMMMMY

Raelyn